一直想在家中实现全局科学上网,这样在家里就不需要一直开着各种客户端了,一方面是每个设备科学上网的客户端都还不一样,存在重复配置,另一方面,客户端也会加快电池的消耗,本来打算投资软路由或者旁路由的,经过一番搜索发现小米的AX1800路由器是基于openwrt的,可以通过ShellClash项目在不影响原系统的情况下实现科学上网,这篇文章记录一下安装的经过,理论上所有的openwrt的路由器都可以安装,只要搜索自己路由器的型号,查找ssh登录的方法就行了。
固件准备
并不是所有的版本都能刷OpenClash,小米AX1800最后一个可以开通ssh的版本是:1.0.336
下载地址: miwifi_rm1800_firmware_fafda_1.0.336.bin
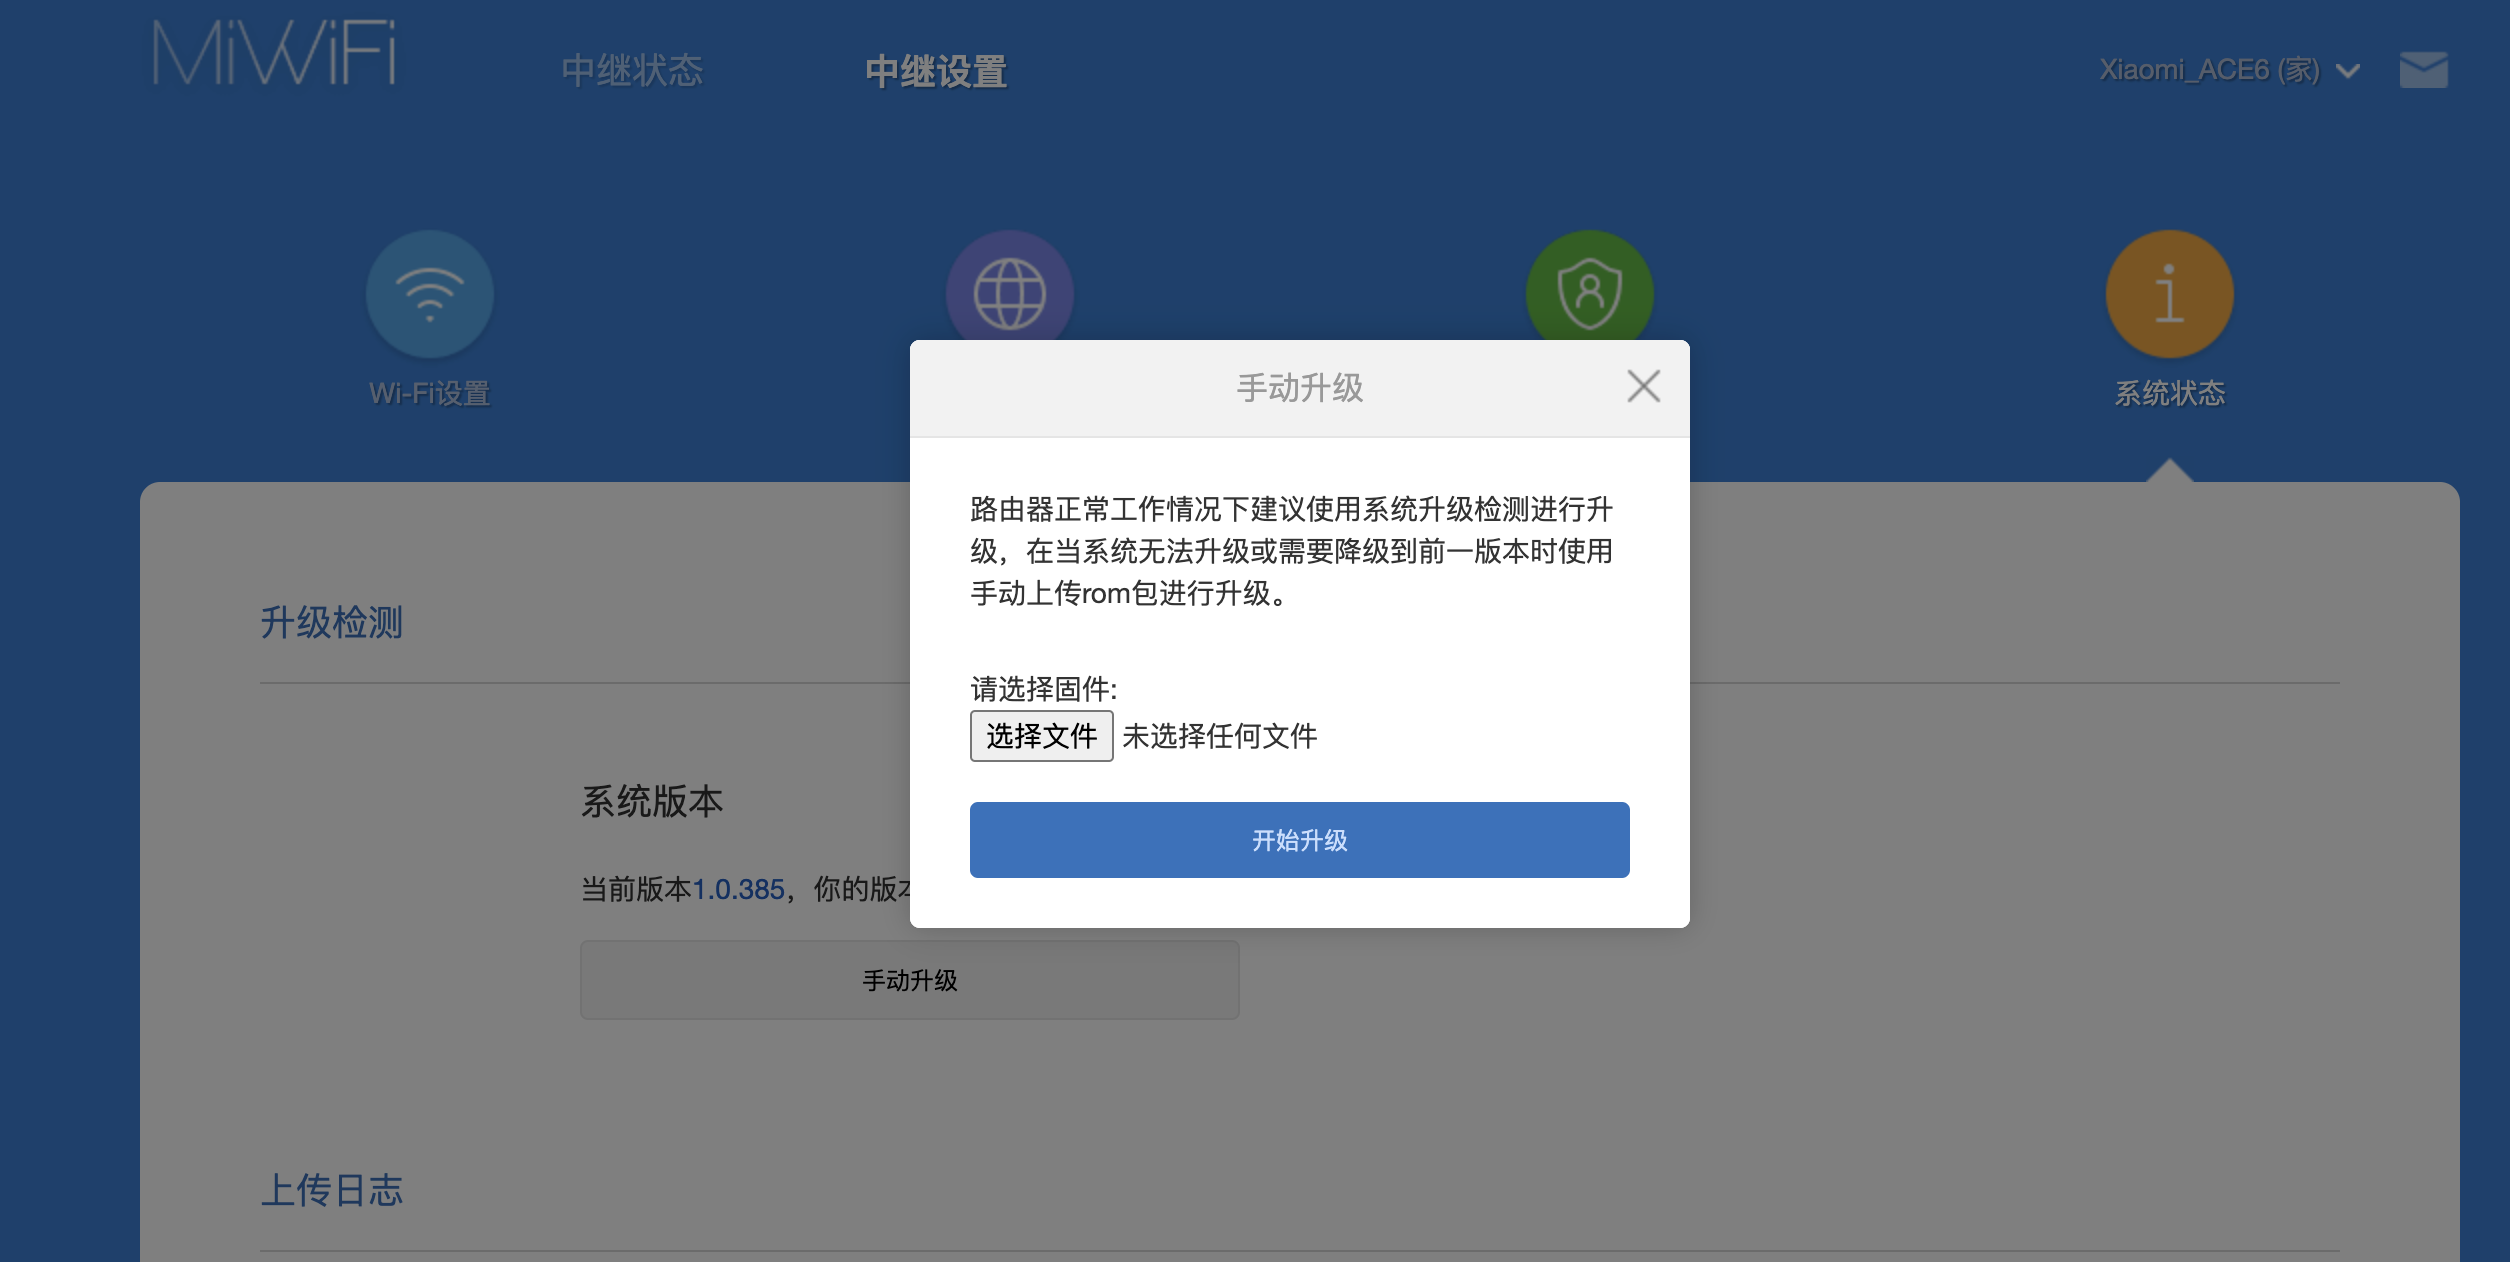
在路由器的系统状态页点击:手动升级,然后选择下载的固件,进行降级。
开启ssh并设置root密码
路由器降级成功之后,在路由器管理界面,打开Chrome控制台,将下面的脚本粘贴进去,
1
2
3
4
5
6
7
8
9
10
11
12
13
14
15
16
17
18
19
20
21
22
23
24
25
26
27
28
29
30
31
32
33
34
35
36
37
38
39
40
41
42
43
44
45
46
| function getSTOK() {
let match = location.href.match(/;stok=(.*?)\//);
if (!match) {
return null;
}
return match[1];
}
function execute(stok, command) {
command = encodeURIComponent(command);
let path = `/cgi-bin/luci/;stok=${stok}/api/misystem/set_config_iotdev?bssid=SteelyWing&user_id=SteelyWing&ssid=-h%0A${command}%0A`;
console.log(path);
return fetch(new Request(location.origin + path));
}
function enableSSH() {
stok = getSTOK();
if (!stok) {
console.error('stok not found in URL');
return;
}
console.log(`stok = “${stok}”`);
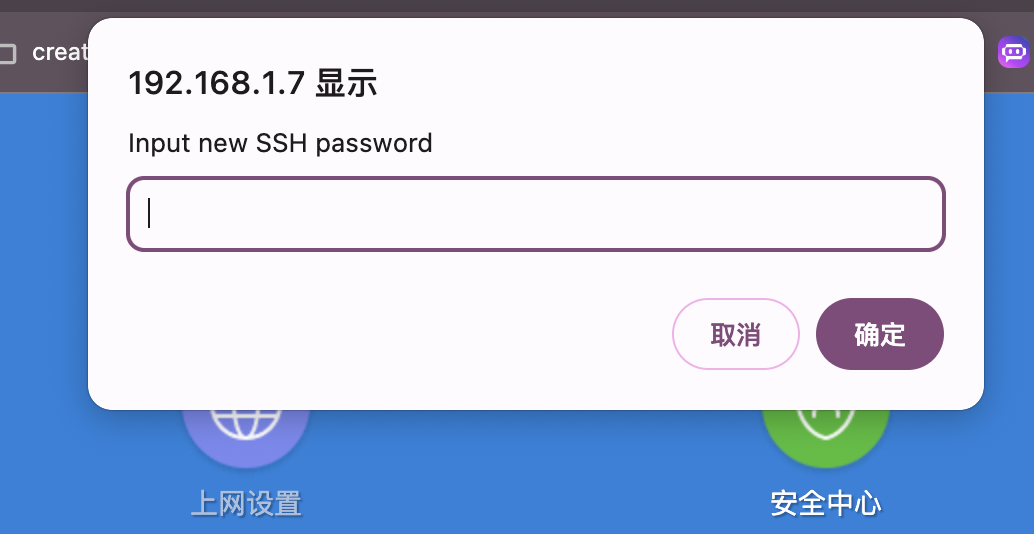
password = prompt('Input new SSH password');
if (!password) {
console.error('You must input password');
return;
}
execute(stok,
`
nvram set ssh_en=1
nvram commit
sed -i ‘s/channel=.*/channel=\\”debug\\”/g’ /etc/init.d/dropbear
/etc/init.d/dropbear start
`
)
.then((response) => response.text())
.then((text) => console.log(text));
console.log('New SSH password: '+password);
execute(stok, `echo -e “${password}\\n${password}” | passwd root`)
.then((response) => response.text())
.then((text) => console.log(text));
}
enableSSH();
|
在弹出狂中填入ssh root账号的密码,这里设置为admin
ssh登录
首先确定一下路由器的ip地址,在路由器管理界面可以查看到,一般是192.168.31.1,因为我是中继的,所以路由器的地址是192.168.1.7。这里需要根据自己的实际需求来修改。
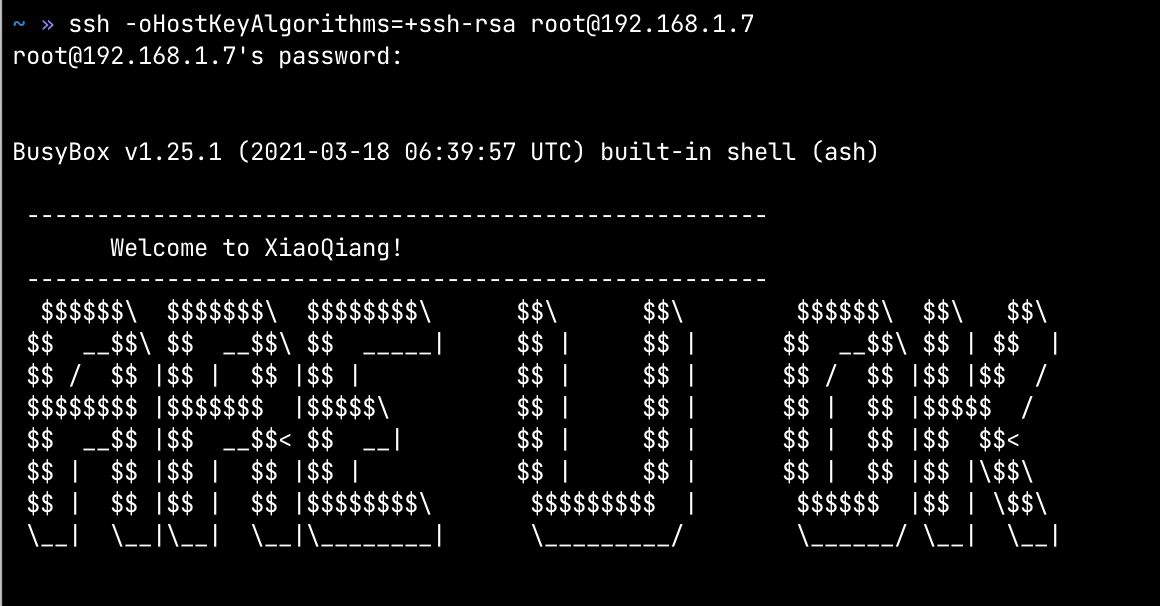
使用下面的ssh命令,输入刚才设置的密码admin登录到小米路由器后台:
正常情况下应该是可以登录的,但是我的报了个错:
1
| Unable to negotiate with 192.168.1.7 port 22: no matching host key type found. Their offer: ssh-rsa
|
使用下面的命令可以正常登录了。
1
| ssh -oHostKeyAlgorithms=+ssh-rsa root@192.168.1.7
|
安装ShellClash
访问 ShellClash安装有详细的安装步骤
如果可以访问Github可以用Github源,如果不行的话可以使用jsDelivrCDN源或者作者私人源。
路由设备使用curl安装:
1
2
| #GitHub源(可能需要代理)
export url='https://raw.githubusercontent.com/juewuy/ShellCrash/master' && sh -c "$(curl -kfsSl $url/install.sh)" && source /etc/profile &> /dev/null
|
或者
1
2
| #jsDelivrCDN源
export url='https://fastly.jsdelivr.net/gh/juewuy/ShellCrash@master' && sh -c "$(curl -kfsSl $url/install.sh)" && source /etc/profile &> /dev/null
|
或者
1
2
| #作者私人源
export url='https://gh.jwsc.eu.org/master' && sh -c "$(curl -kfsSl $url/install.sh)" && source /etc/profile &> /dev/null
|
按照指引安装即可。
使用Clash
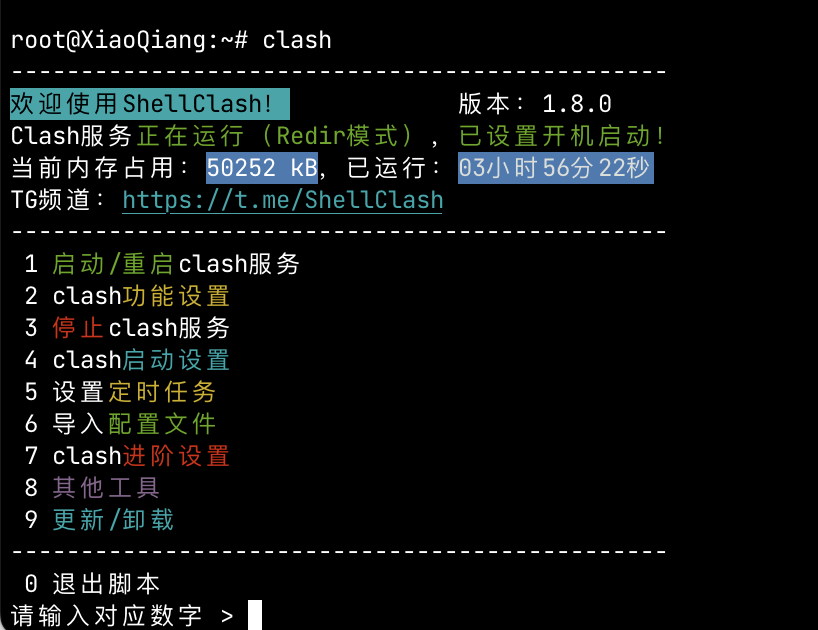
安装成功之后,在命令行中输入clash进入面板
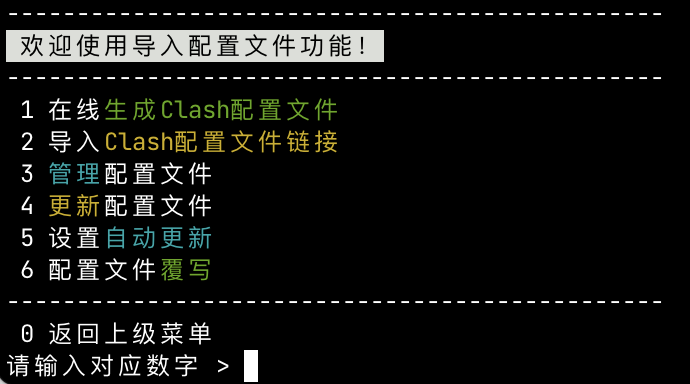
导入配置
这里选择2,导入Clash配置文件链接。
如果你买的是现成的机场的话,一般会有clash订阅的地址,copy粘贴到里面即可。
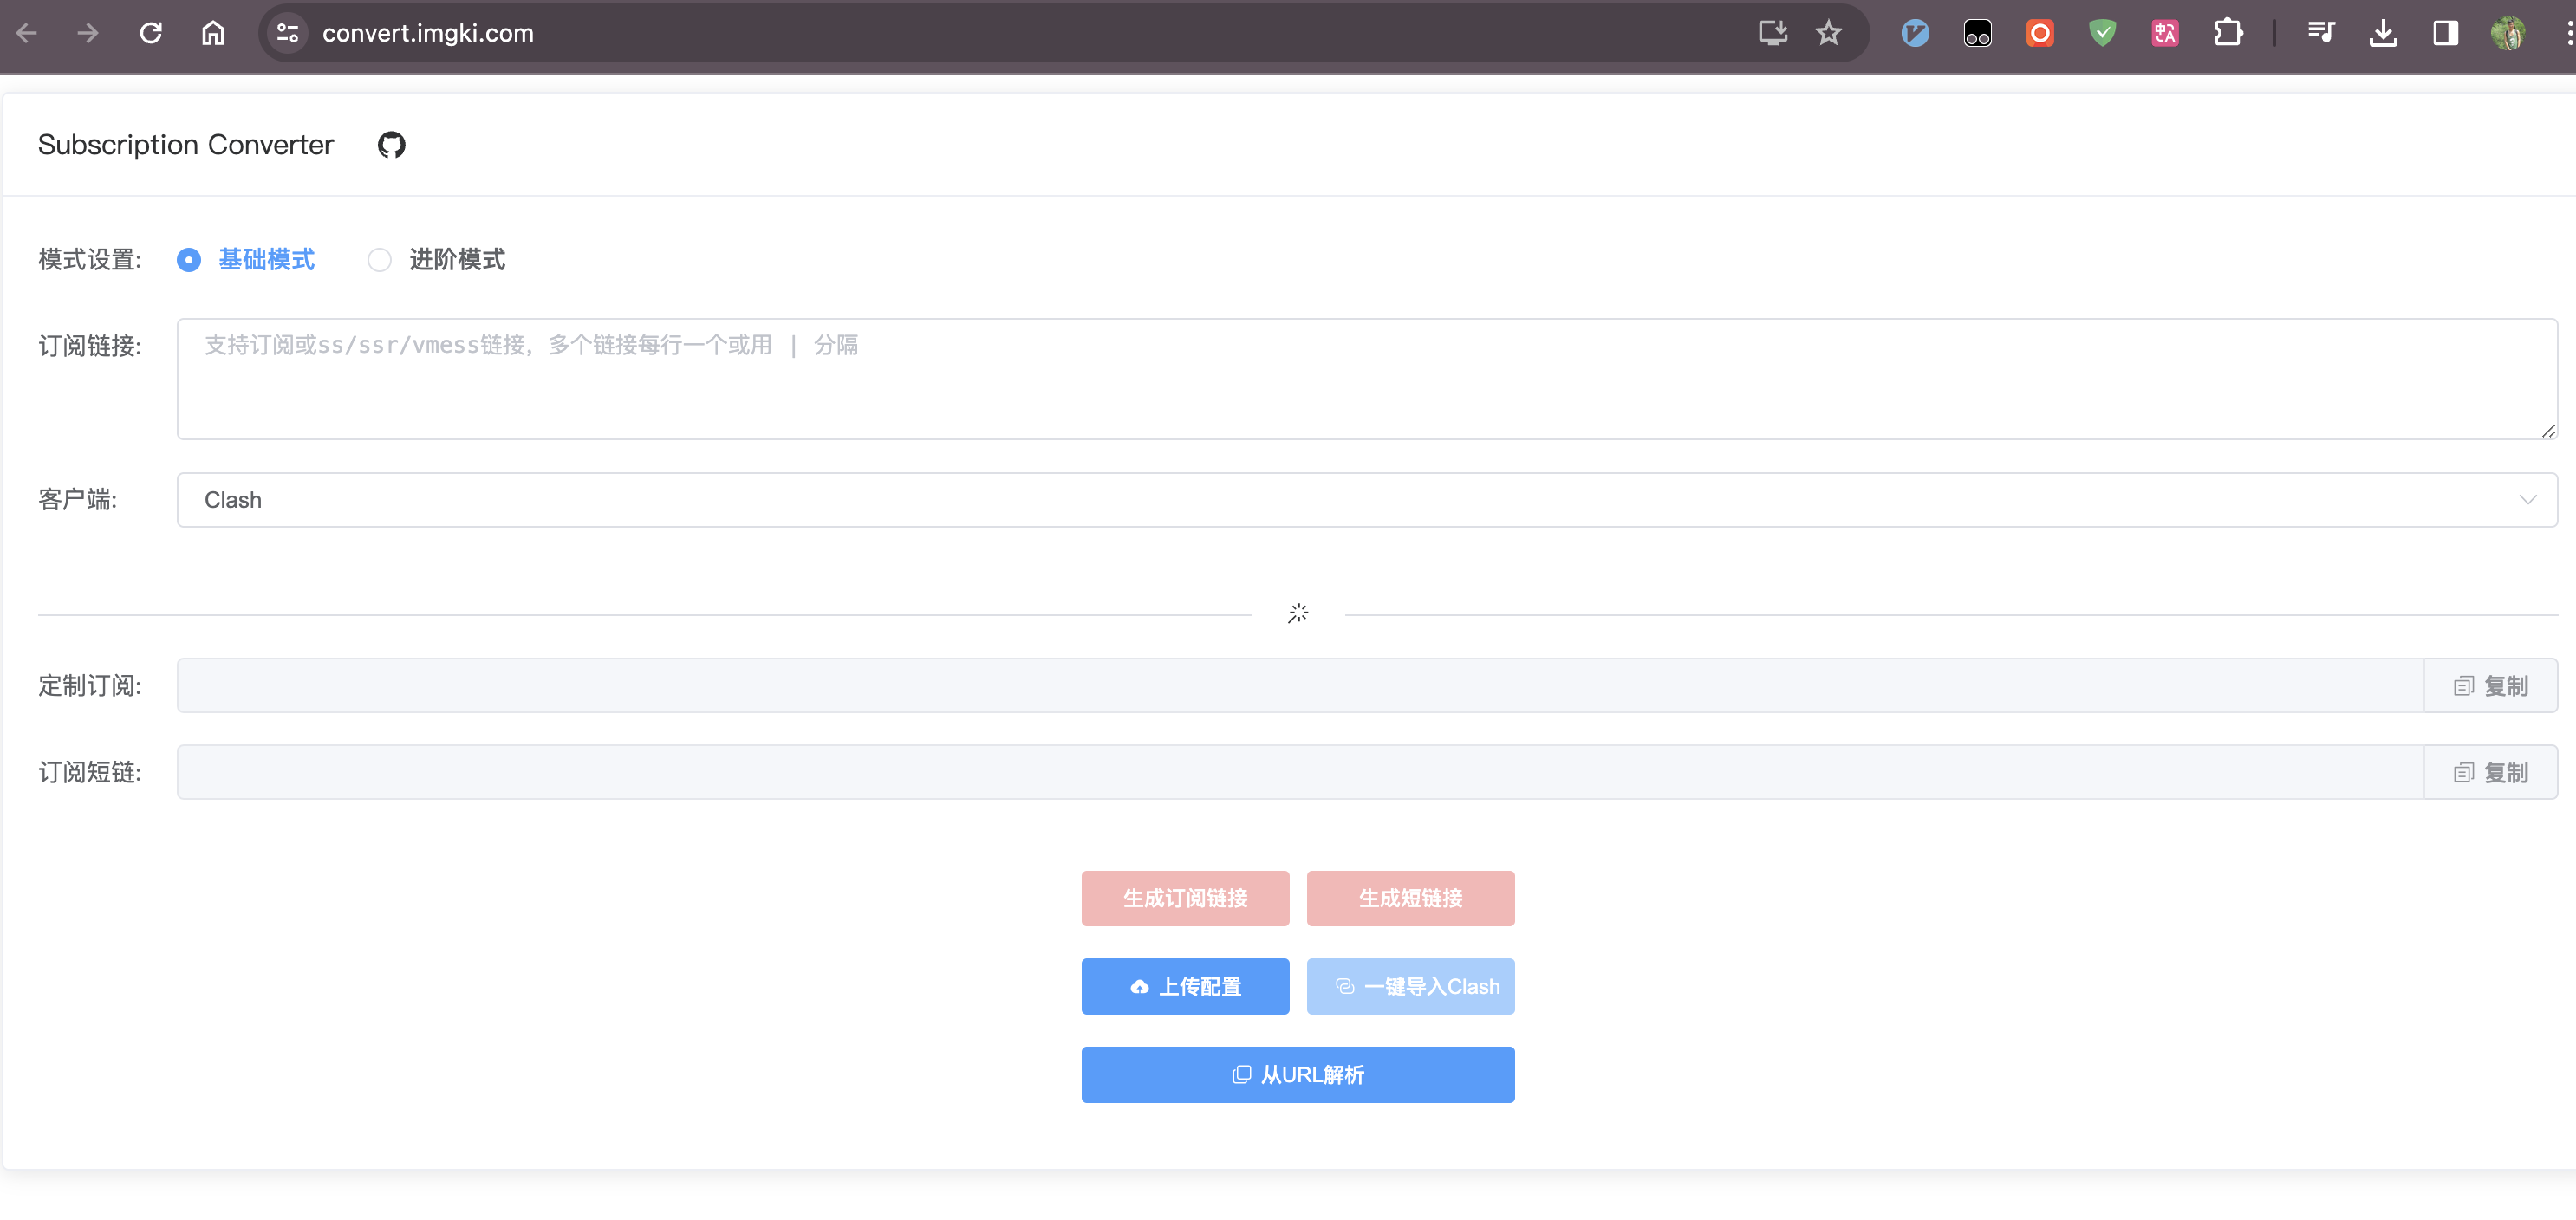
如果是自己搭建的V2ray的话,需要生成订阅链接,把其他协议如ss,ssr,vmess等转换为clash,可以使用开源工具sub-web自己搭建,也可以使用别人搭建的公益网站,,注意⚠️:使用第三方的转换工具可能会导致节点泄漏,这里笔者使用公益网站的是:https://convert.imgki.com/
使用方法很简单,把vmess协议的链接放进去,然后点击生成订阅,剩下的可以上一步一样。
安装面板
在开始菜单中输入9 更新/卸载
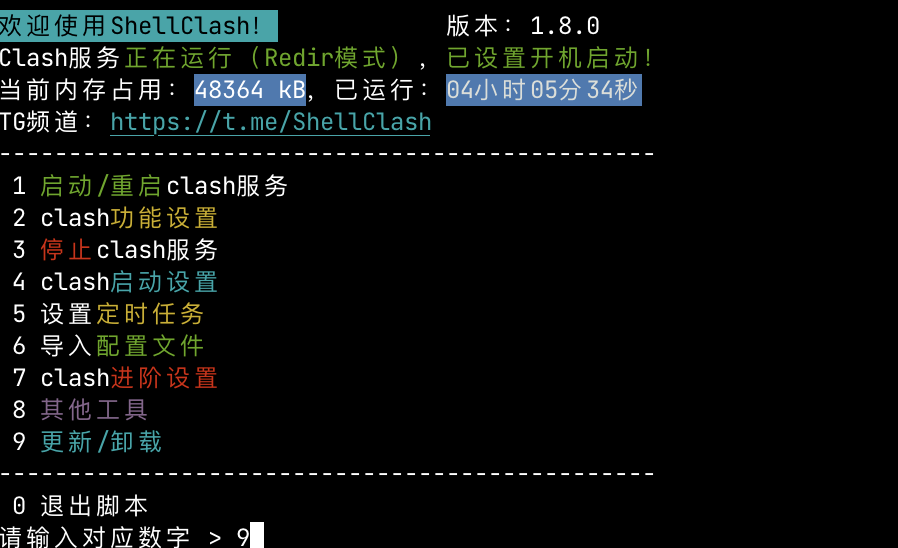
选择4 安装本地Dashboard面板,安装推荐安装即可。

面板Dashboard安装完成之后,输入http://192.168.1.7:9999/ui/ 即可进入Clash后台,这里的ip地址改成自己路由器的地址。
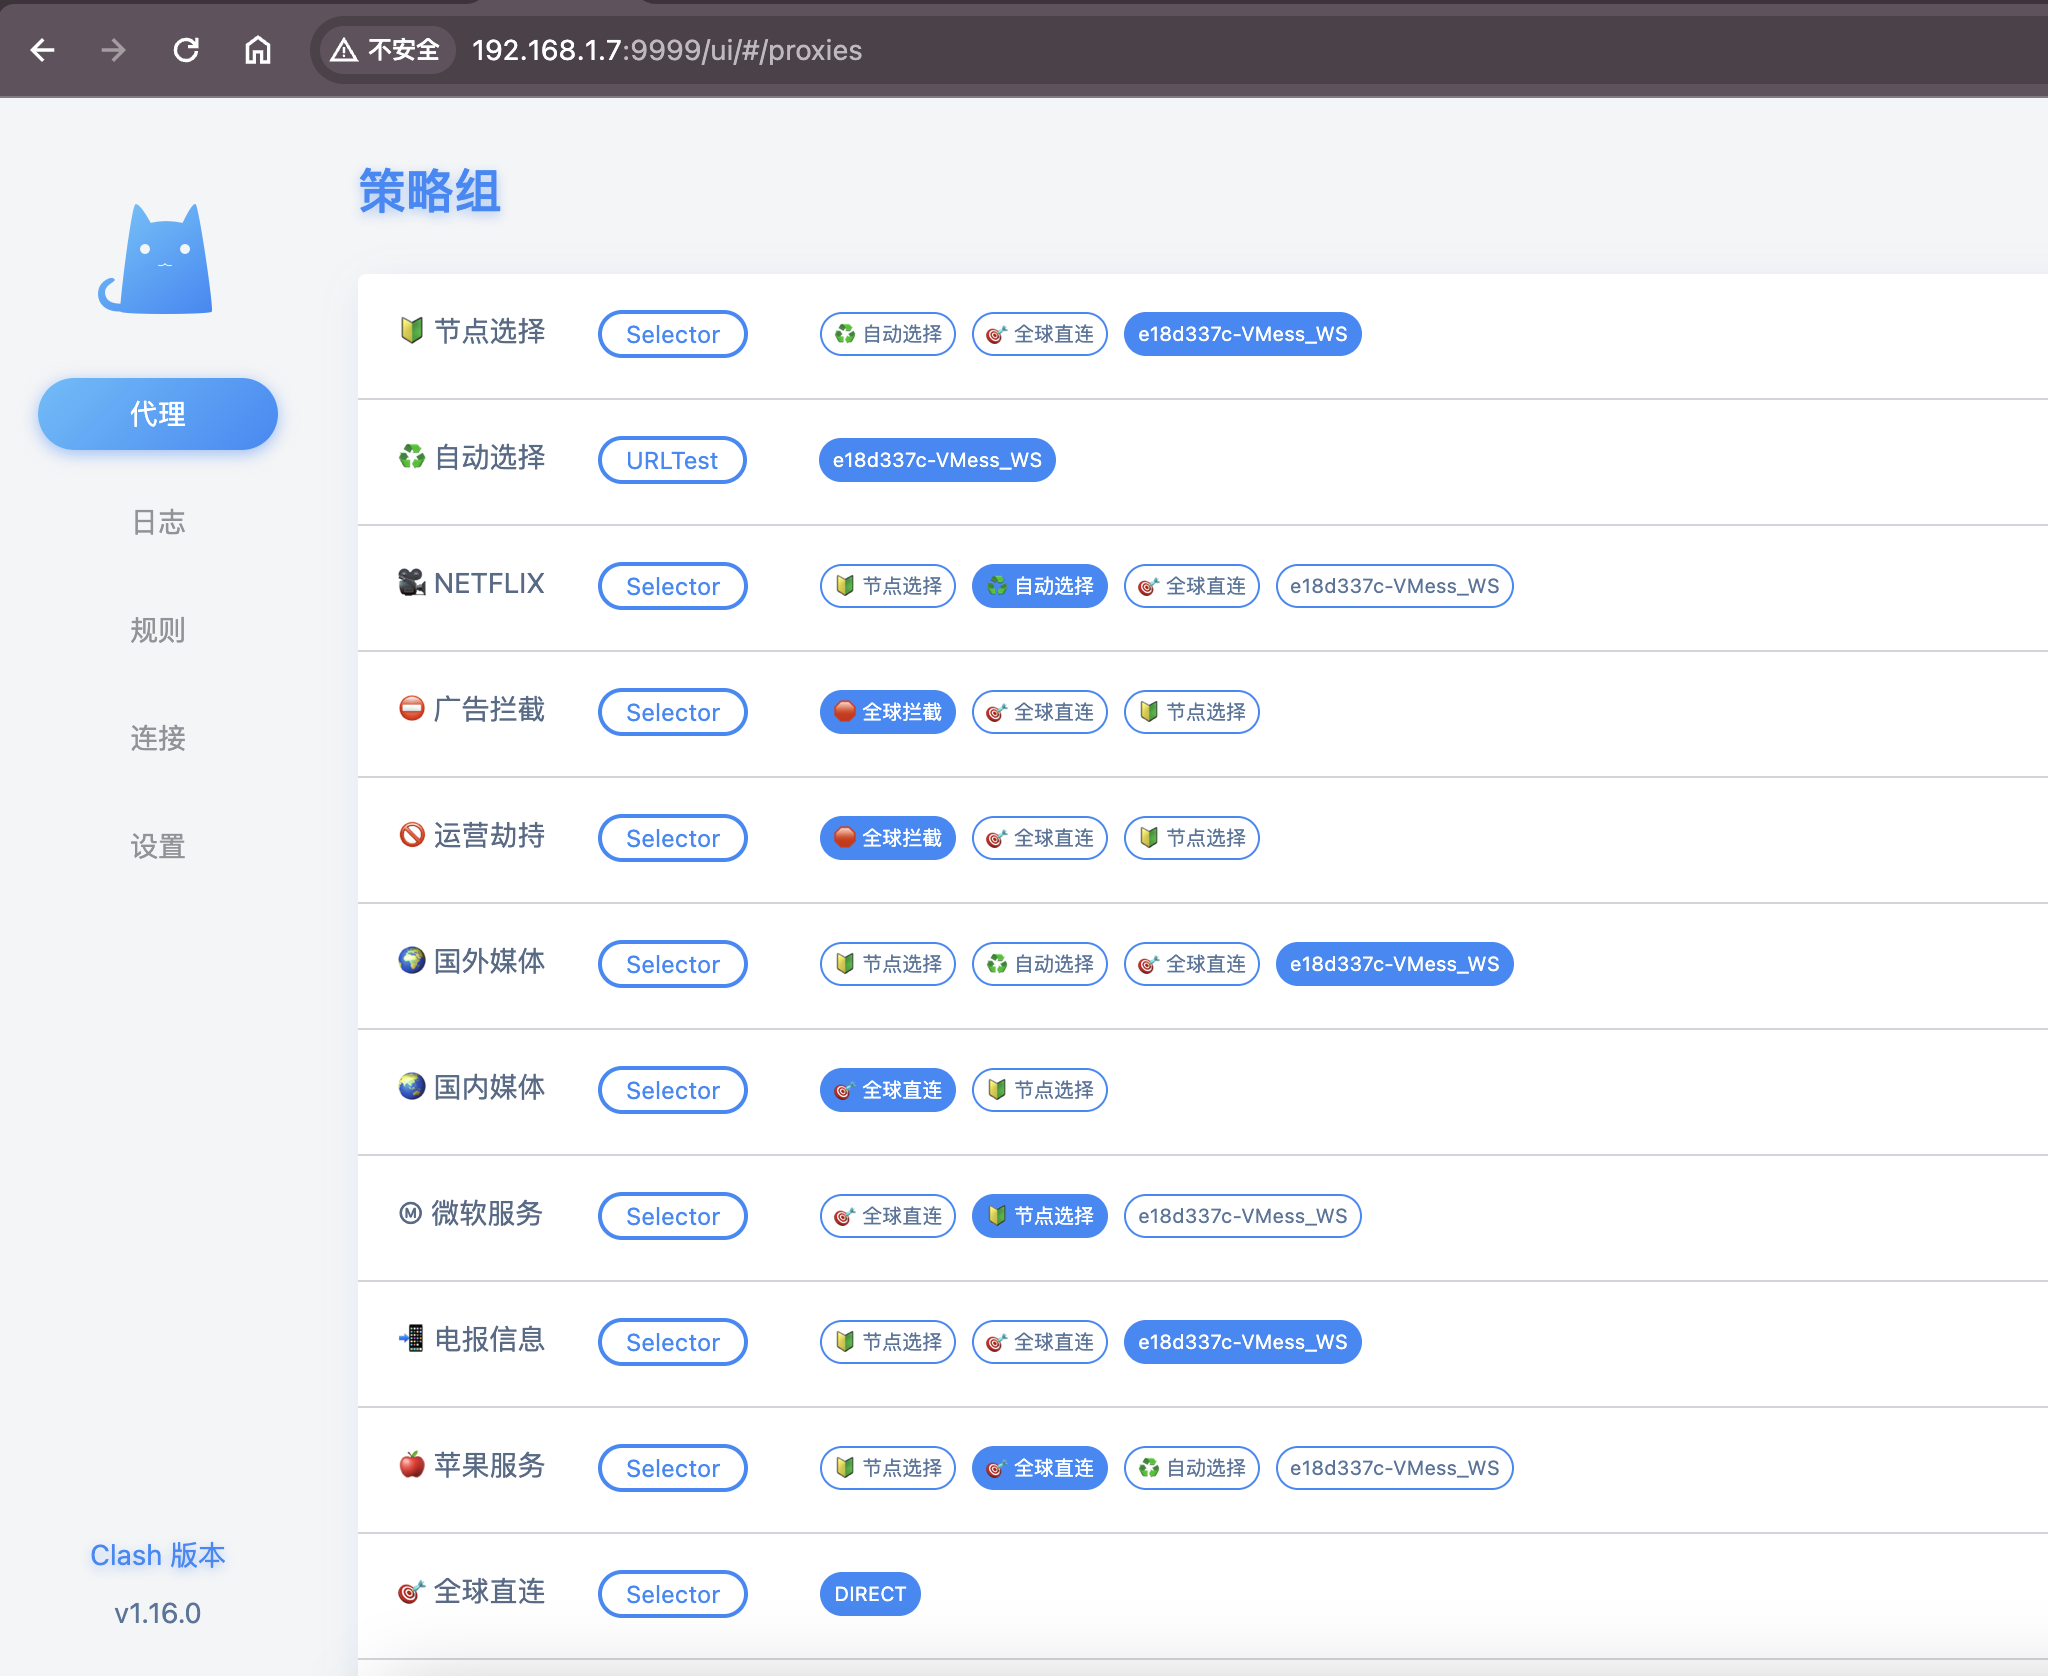
接下来就是愉快的使用了。
参考


